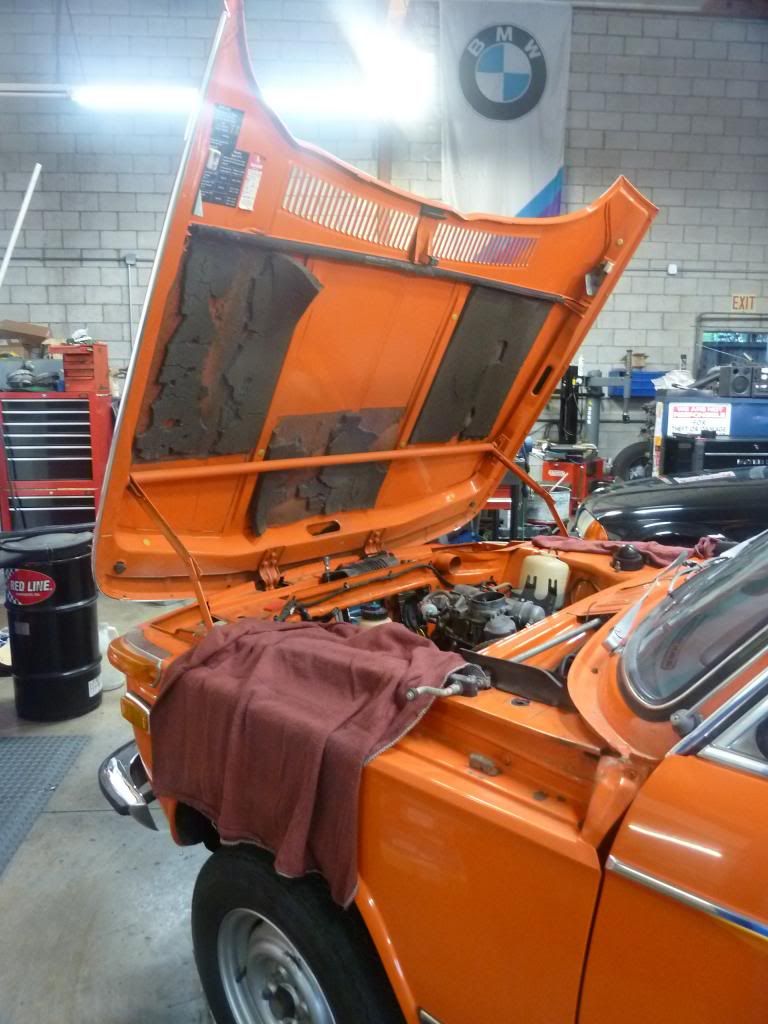
There are a few options for those who want to replace the foam but the unavoidable first step is a messy one. The original foam has to go! It begins easily enough by pulling the dry chunks off in your hands. Quickly though, you realize that there is a layer that will not give up without a fight. In my case, the adhesive is now 40 years old and officially baked on to the steel. Wanting to remove it properly meant doing things differently than my first attempt some 20+ years ago. Does this mean that I'm learning? Good news! Since my last try which resulted in the foam constantly flopping down onto the engine, a little thing called the Internet made its way on to the scene. One of the web's chief successes is a site called BMW 2002 FAQ. For anyone at all interested in 2002s, this is an amazing resource. Members come from all walks but have at least one thing in common, a passion for this iconic car. For every question about an upgrade or repair, there are numerous owners who have been there and done that. For this project I wanted to know the best way to efficiently remove the adhesive and I found my answer:

Applied liberally, Contractor's Solvent breaks down the old glue. This process is very messy so I had a sheet of plastic covering the engine bay. Using a plastic scraper, I was able to turn the remaining adhesive into goopy blobs (sorry to get technical) that dropped safely onto the plastic safety net. I sprayed on one side of the hood and then scraped on the other. After the other side had absorbed the solvent for several minutes, I switched sides. Back and forth I went until I was left with virgin paint. I did this over a few days and it was several hours in total. Job almost complete!
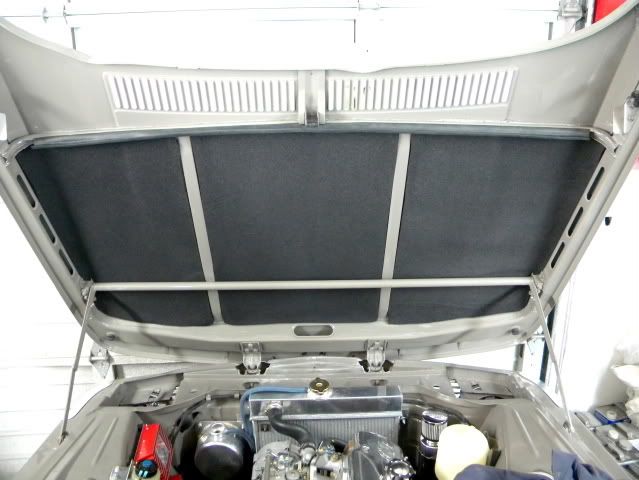
As I said before, there are options when it comes to replacing the original foam. Some go with the aluminum lined pads that provide extra insulation and deflect the engine heat. One popular choice are the pads sold by Woody on the FAQ site. Unlike the OEM pads, Woody's fill almost the entire surface area.
Woody also sells foam for the underside of the trunk lid.
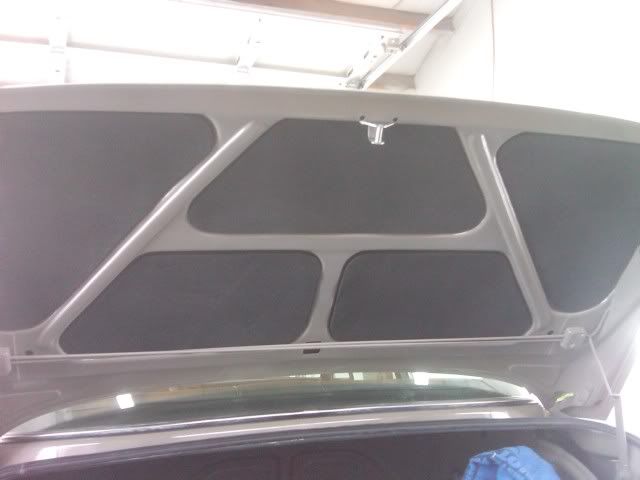
The center pad is identical to the one on the passenger side, but rotated 90 degrees.
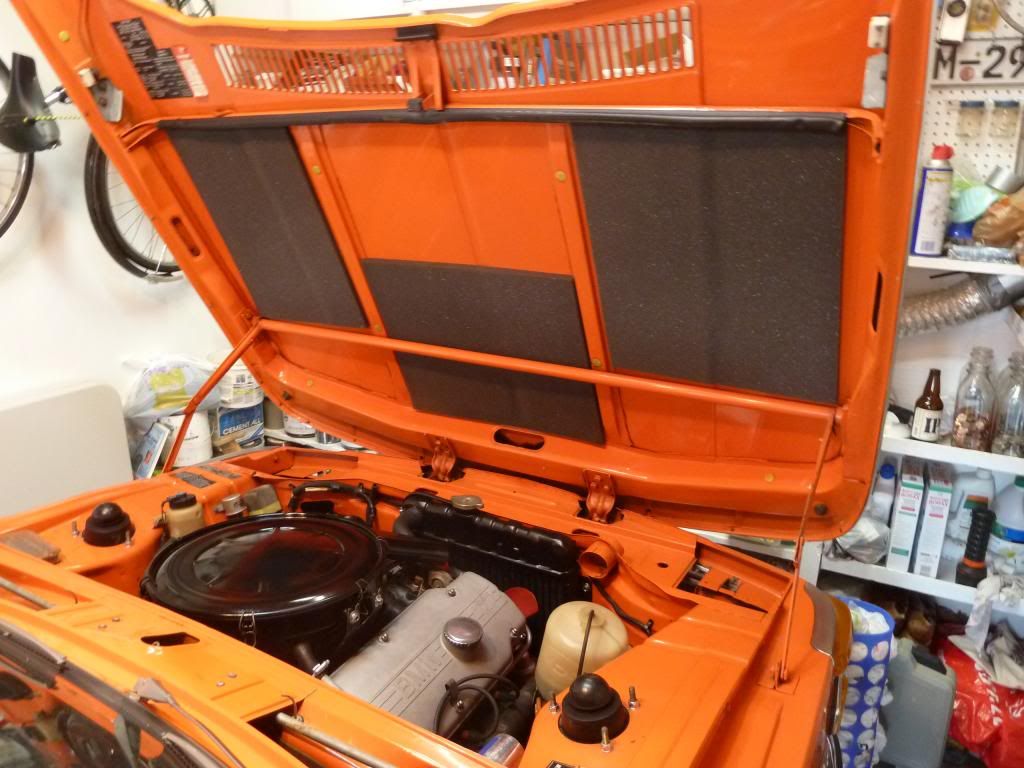
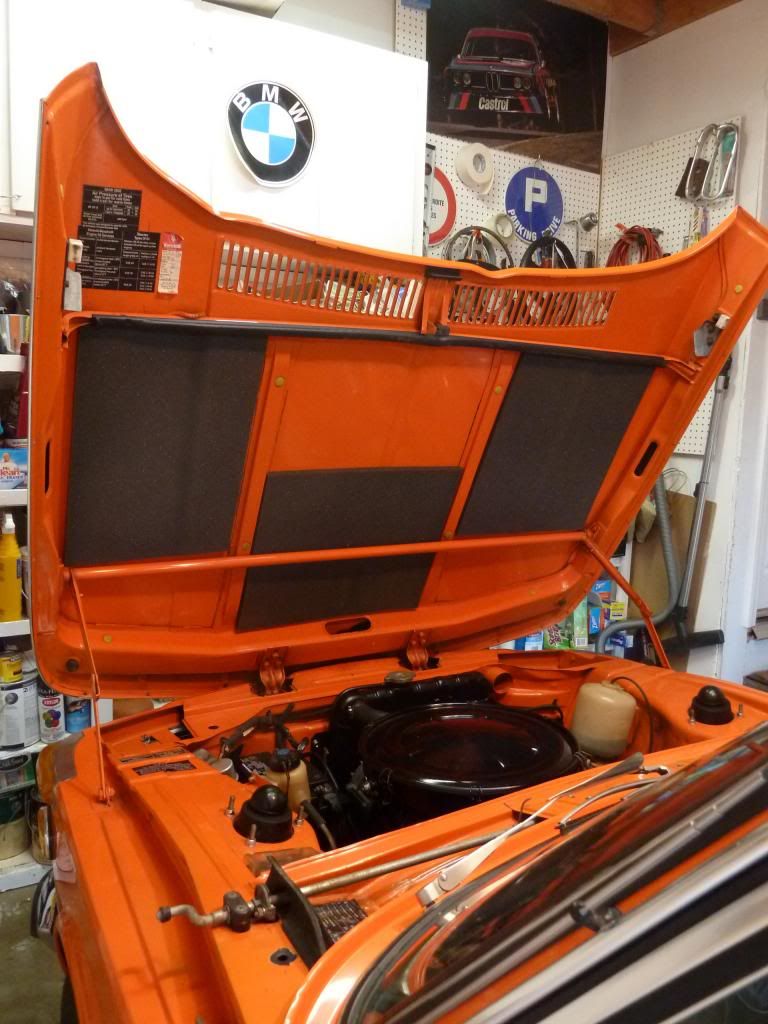
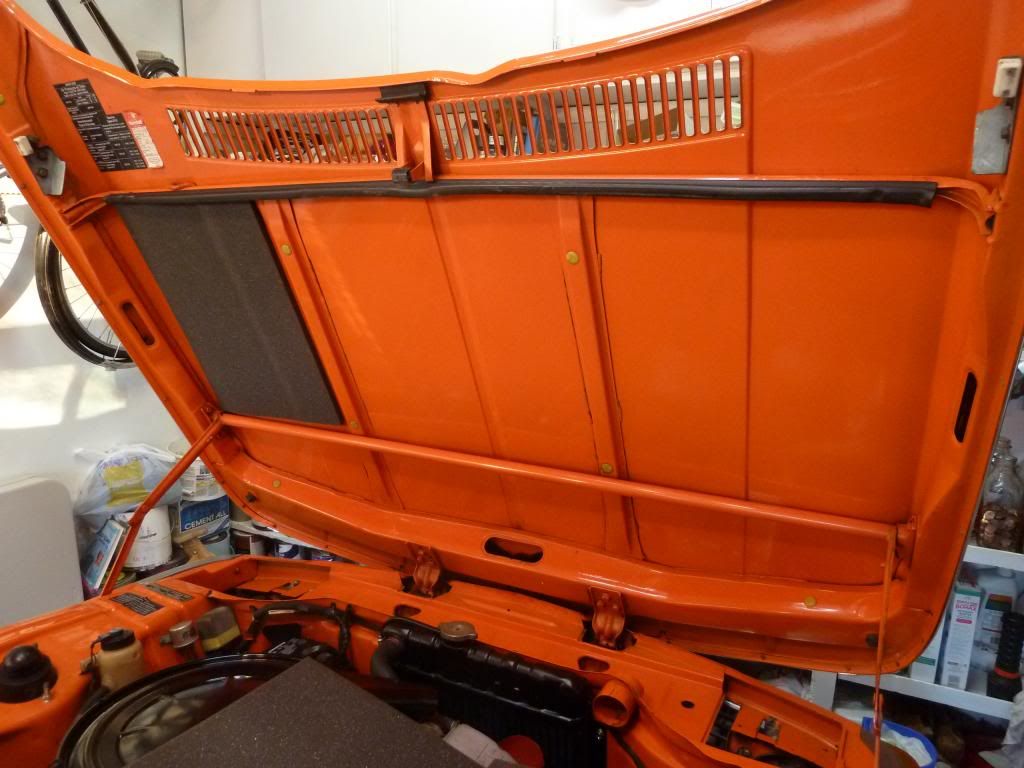
Et voila! I have to say that this process was very satisfying. It is a massive aesthetic improvement and probably dampens the engine noise as well. Wait, did I just make a mistake?!
No comments:
Post a Comment